ABL / ABL GL / ABL GL Setup
ABL GL Setup
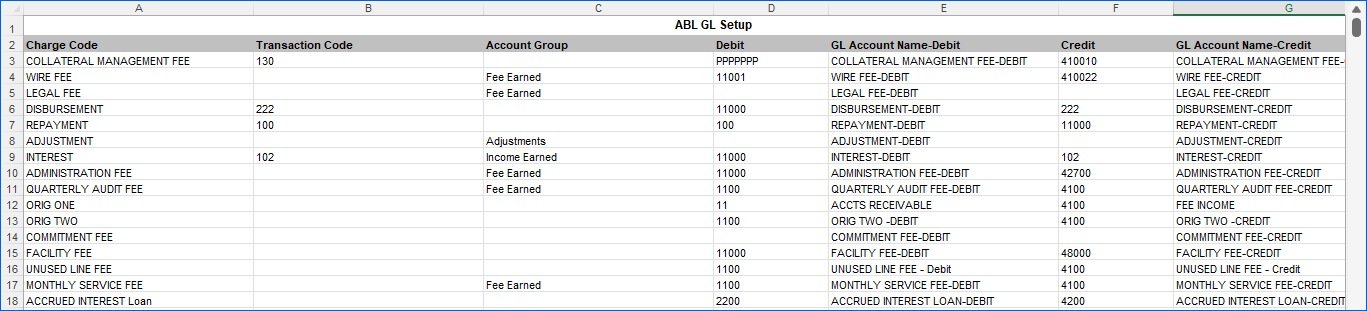
The ABL GL Setup page is for creating the Lender's General Ledger account names and numbers that will be used/tracked in Cync.
GL transaction codes are created from the charge codes that were set up under ABL Charge Codes page.
Cync auto-populates these codes into this screen where you can assign the appropriate GL Number and GL Names to each.
The GL numbers and names should match the ones that you are using in your GL Accounting System if you wish to import transactions from Cync.
You can create and edit the record.
|
Table of Contents |
Navigation: ABL → ABL GL → ABl GL Setup
Refer to the Screenshot
Fields and Descriptions
|
Fields |
Descriptions |
|
Charge Code |
Defines the charge code for the transaction. |
|
GL Account No |
Specifies the GL Account number for the transaction. |
|
GL Account name |
Defines the name of the GL Account. |
|
Transaction Code |
It displays the transaction code for the charge code, for which the transaction is processed. |
|
Account Group |
It displays the list created in the Account Group settings pop-up. From the drop-down, the user can assign an Account group to any charge code. |
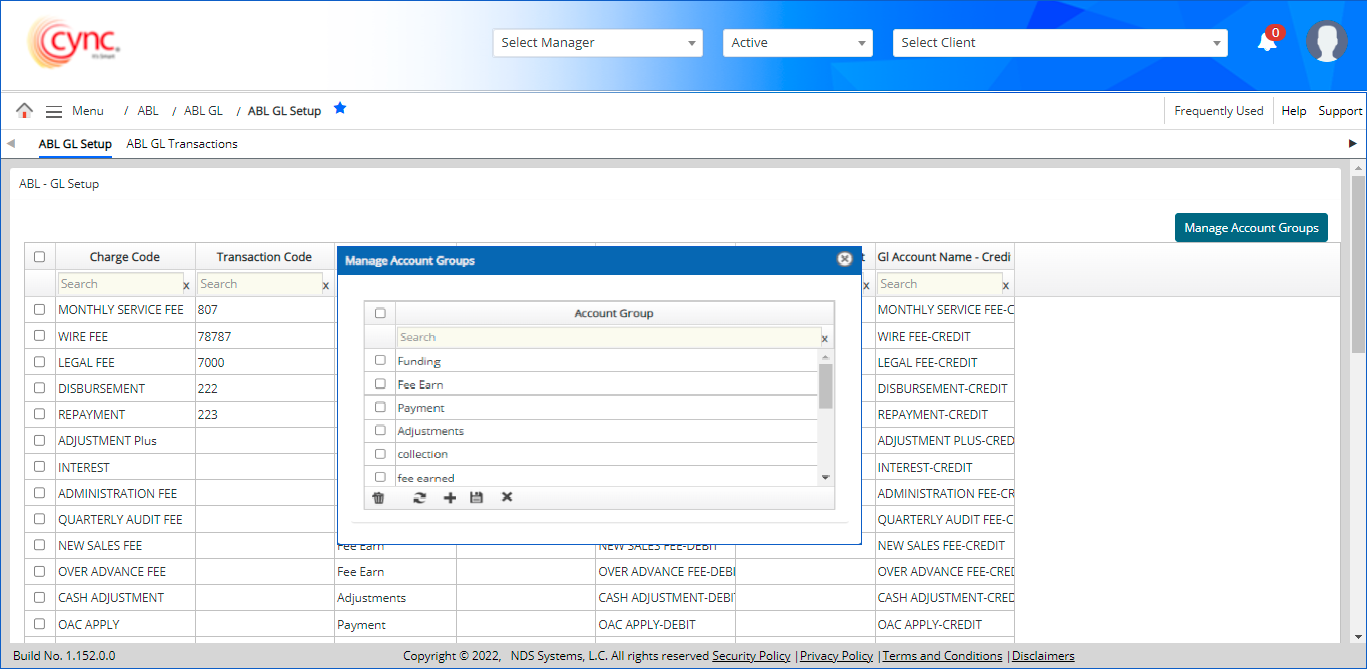
Follow the steps below to manage account groups:
A pop-up appears with the below default account group names.
Funding
Fee earned
Payment
Adjustments
Income earned
Refer to the screenshot:
Follow the steps below to add a new account group:
 button.
Click  to add a new account group.
Enter the value and click on the![]() button.
button.
A new account group is displayed with a success message.
Refer to the screenshot:

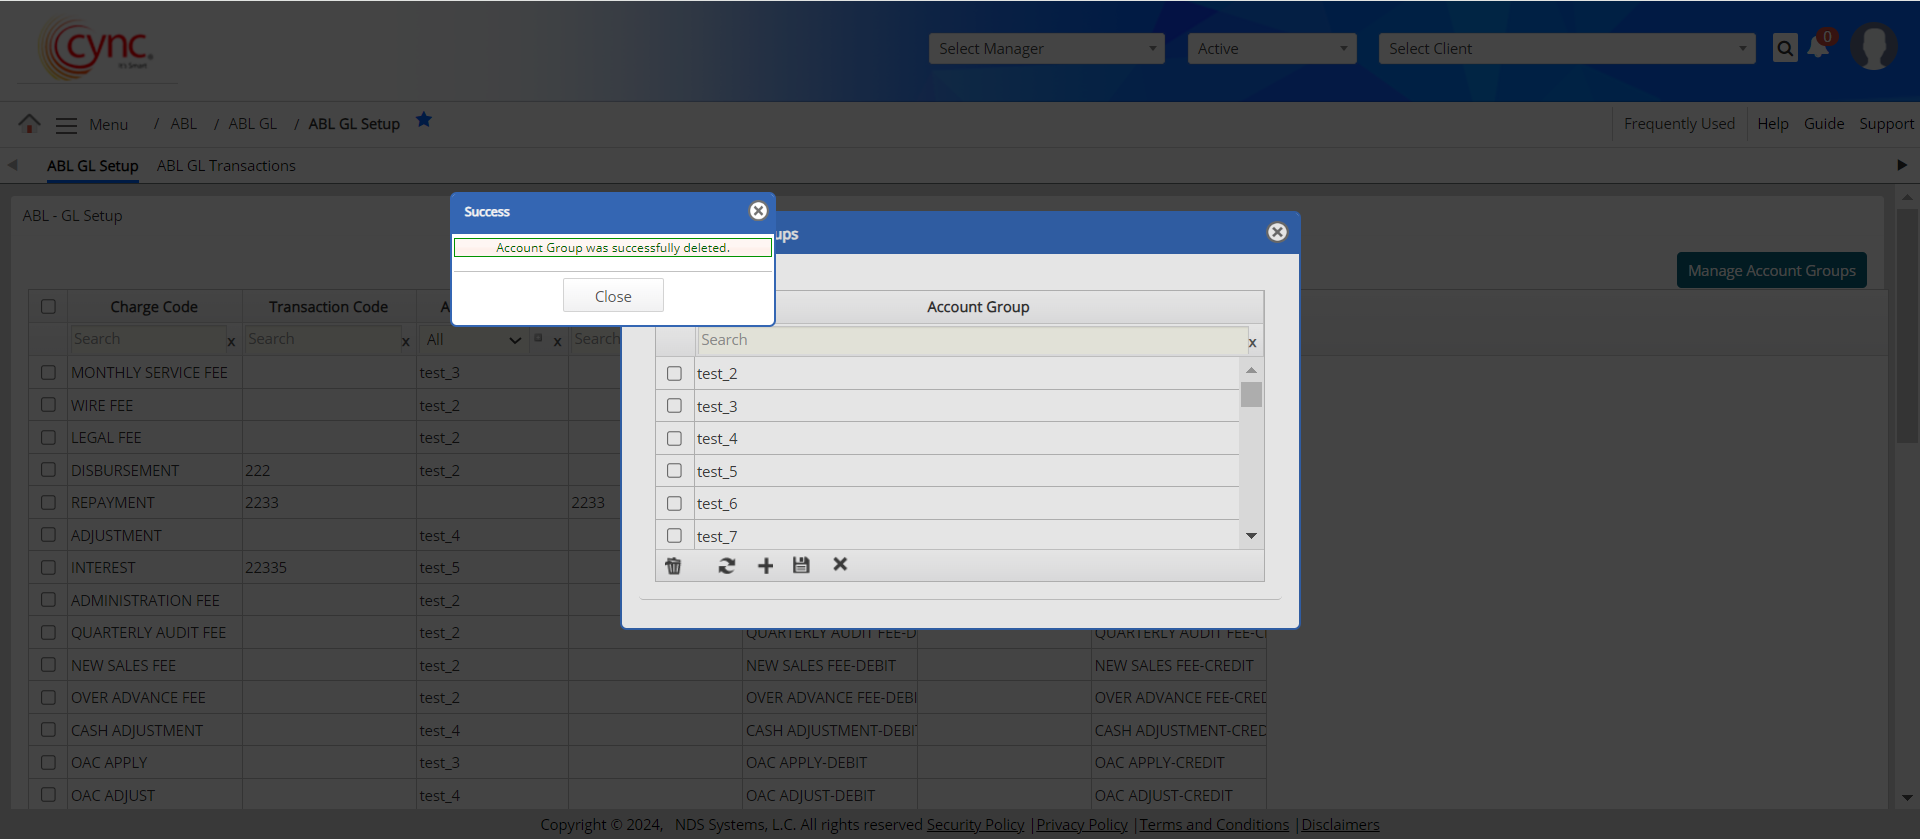
Follow the steps below to delete a created Account group:
Select the desired account group from the list.
Click the .png) button to delete the group.
button to delete the group.
The selected account group is deleted with a success message.
Refer to the screenshot:
Follow the steps below to edit an existing account group.
button.Double-click on the desired account group name which is active.
Edit the existing account group name and click the ![]() button.
button.
The edited value is displayed on the GL set-up page and the GL transactions page.
Refer to the screenshot:
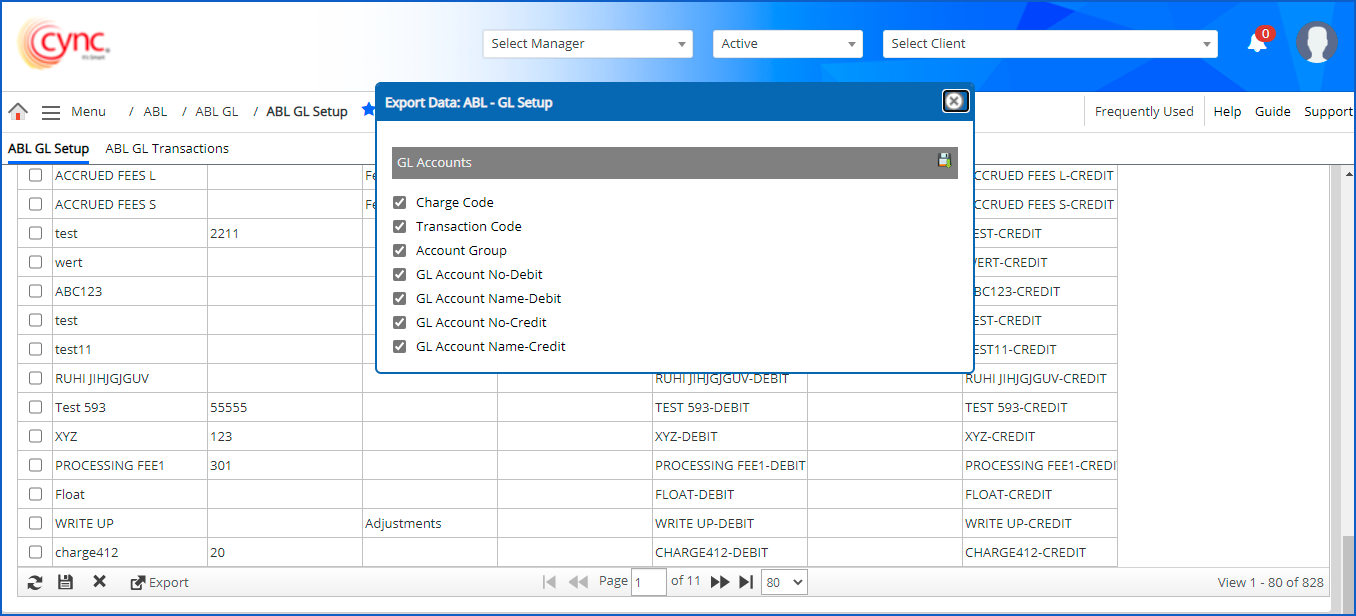
ABL-GL Setup report
Refer to the screenshot: